How Leak Detection Works: Acoustic, Thermal and Pressure Methods
A meter that turns while the house sleeps. A warm patch on a floor that should be cold. A stain that grows with no pipe in sight. Every hidden leak begins as evidence without an address, and the question homeowners ask us is always some version of the same one: how do you find water you cannot see, without tearing the house apart looking for it? The honest answer is that detection is a method, not a talent. Prove the leak exists. Narrow it to one branch of the system. Then pinpoint it with instruments until the spot can be marked on the floor. This guide walks through each method, what it actually detects, and the order a real visit follows.
If your starting point is a bill that doubled with nothing visible to blame, work through the free checks in our high water bill playbook first. This page picks up where those checks end — the moment you know water is escaping and the only question left is where.
First, Prove the Leak Exists: The Meter Test and Pressure Testing
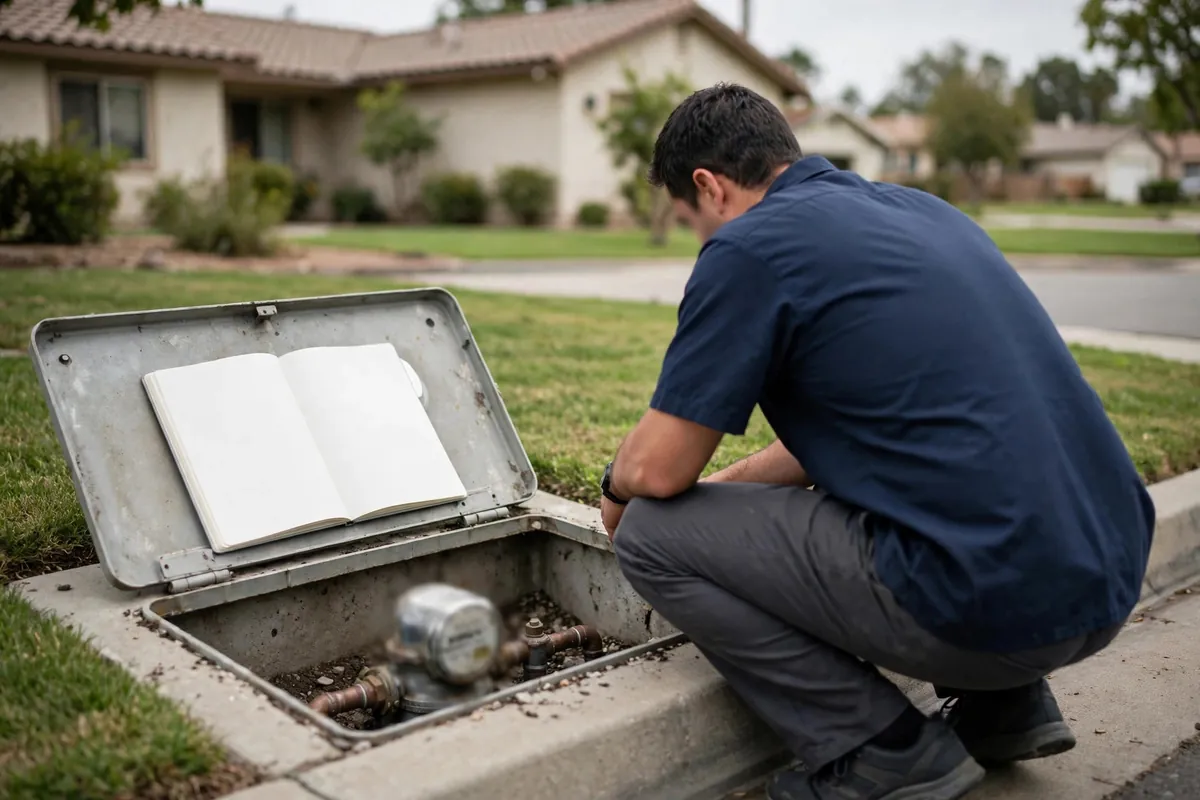
Every search starts at the meter, because the meter settles the argument about whether there is a leak at all. Turn off every tap, appliance and irrigation zone, then watch the meter's low-flow indicator — the small dial or triangle that moves with even a trickle. If it turns while the house is off, water is leaving the system somewhere. A two-hour reading puts a number on how fast. Then comes the isolation step: close the house valve and watch again. A meter that stops points inside the house; a meter that keeps moving points at the buried run between the meter and the house. Our meter self-test page walks through that sequence in full, including how to read your hourly usage in the City's My Water portal.
Pressure testing is the second proof, and it works branch by branch. A gauge goes on an isolated section — the hot side, the cold side, the irrigation, one bathroom group — and the section is sealed and watched. A branch that holds pressure is cleared. A branch that fades is losing water, and the rate of the fade says roughly how much. Neither test names a location. What they do is convert a suspicion into a measured fact and hand the instruments a much smaller haystack: this branch, this side of the house, this run of pipe.
The Methods at a Glance
No single instrument finds every leak. Each one picks up a different signal — sound, heat, pressure, moisture, gas — and a competent visit layers them in the order the evidence calls for. Here is the full toolkit and where each tool earns its keep:
| Method | What It Picks Up | Where It Earns Its Keep |
|---|---|---|
| Acoustic listening | The sound of pressurized water escaping a pipe | Walls, floors, slabs and buried supply lines |
| Thermal imaging | Temperature differences left behind by moving water | Hot-water lines inside walls and under floors |
| Pressure testing | Whether a sealed branch loses pressure, and how fast | Confirming a leak and isolating it to one branch |
| Moisture mapping | How far damp has spread, and where it is strongest | Walls and ceilings; documenting damage |
| Line tracing | The buried path a pipe run actually takes | Yards, driveways and under-slab runs |
| Tracer gas | Gas escaping at the surface, directly above a break | Very slow or deep leaks that defeat sound |
| Sewer camera | The inside of a drain or sewer line, on video | Laterals, recurring clogs, roots and breaks |
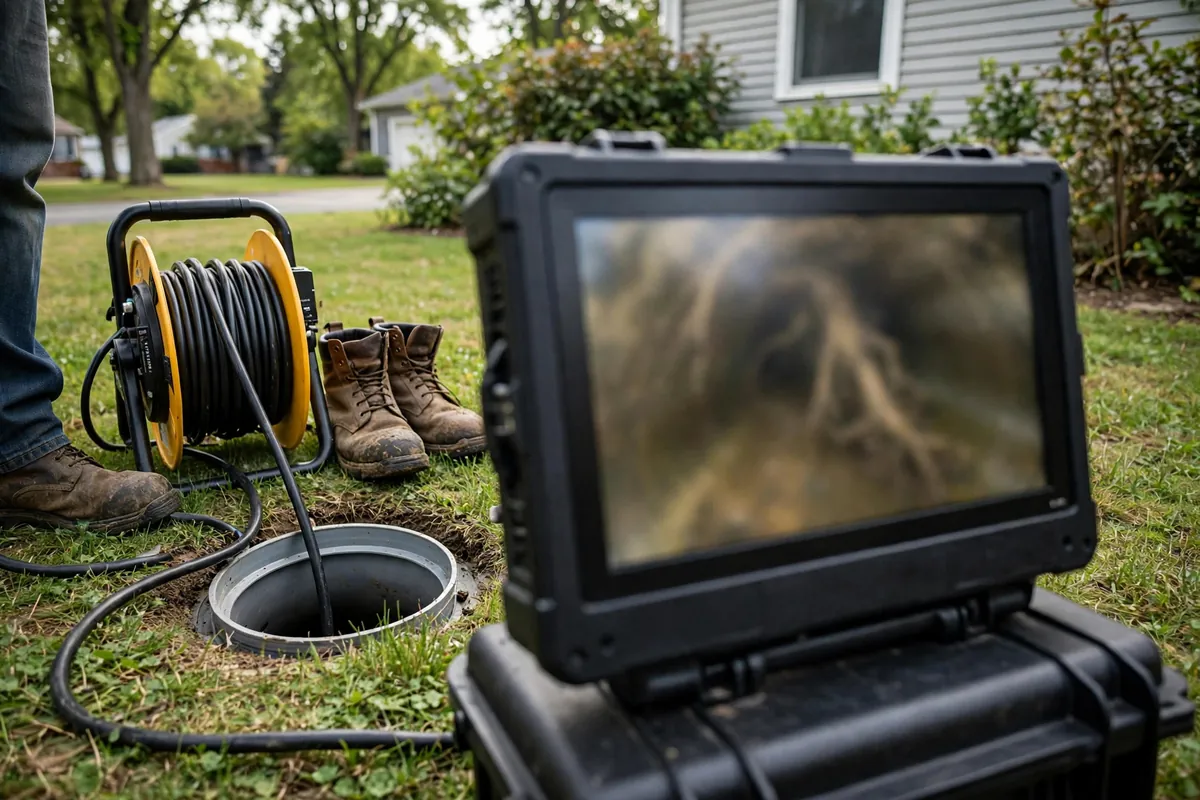
One row of that table works on a different system from all the others. The camera is the drain-side tool — it travels inside waste lines, which carry water at no pressure and therefore make no sound to listen for. Everything above it on the list is for the pressurized supply side, where water escaping under pressure announces itself in ways instruments can follow.
Acoustic Listening: Following the Sound of Escaping Water
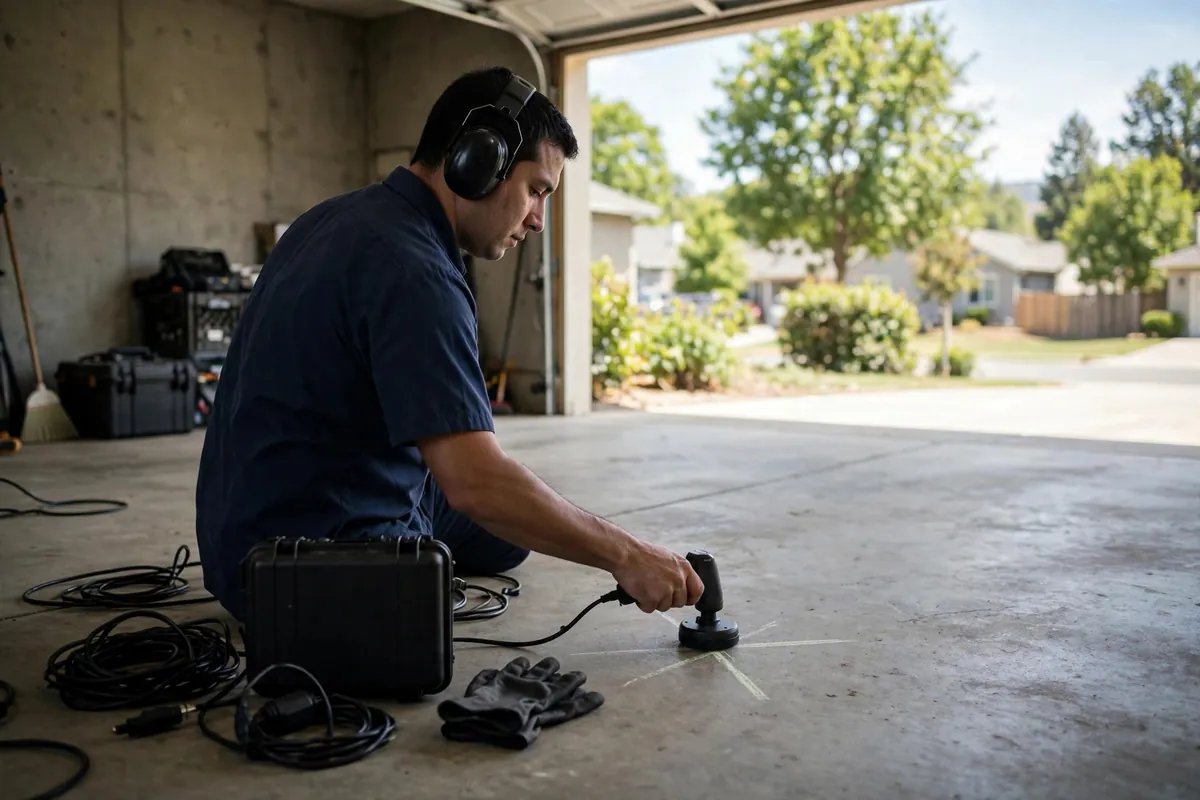
Water forced out of a pressurized pipe does not leave quietly. It hisses, sprays and vibrates at the break, and that noise travels along the pipe and through the ground or flooring above it. Acoustic equipment — ground microphones and listening sensors pressed to floors, walls and fittings — amplifies that sound so a specialist can follow it along the run. Away from the leak the signal is a murmur; over the break it peaks. The pinpoint is simply the loudest point, confirmed from more than one position before anything gets marked.
This is the workhorse method because most supply leaks are pressurized and most building materials conduct the sound well enough to follow. It is also why a detection visit asks for a quiet house: dishwashers off, nobody running water, the irrigation controller silent. Background noise is the enemy of a clean signal, and a careful crew would rather wait two minutes for a cycle to end than guess through the rumble.
Thermal Imaging and Moisture Mapping: Reading What the Water Left Behind
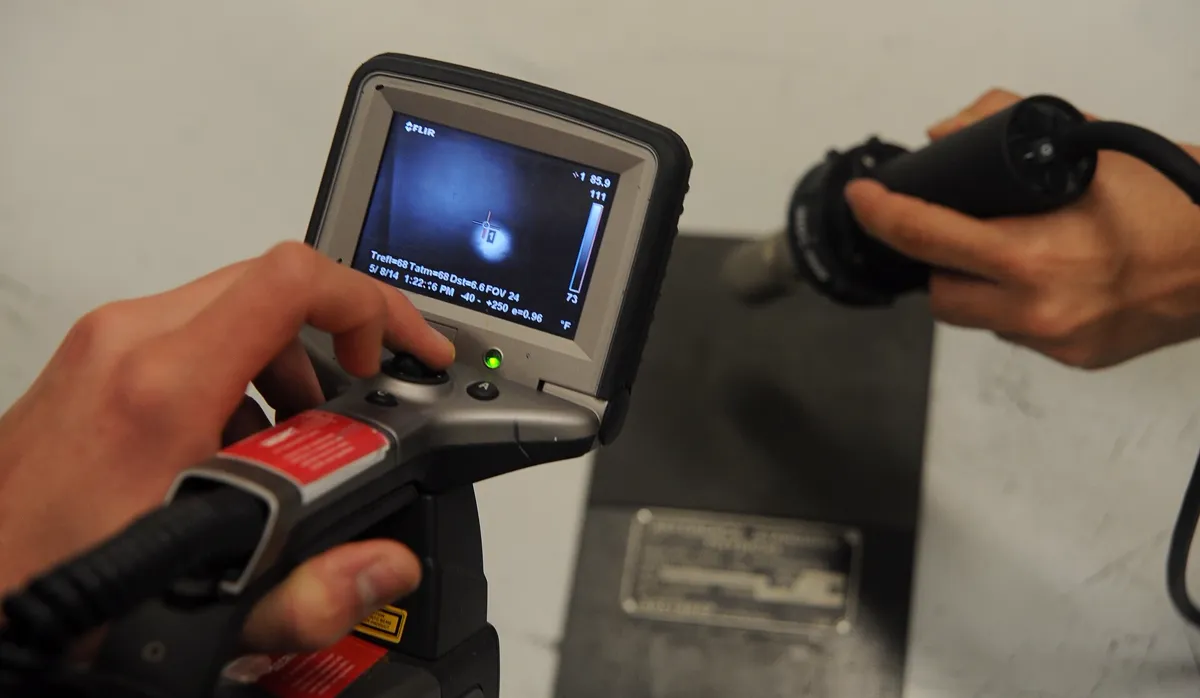
Sound says where the pipe is failing; heat and moisture say what the escaping water has been doing. A hot-water leak warms the material around it, and a thermal camera renders that warmth as a visible plume spreading through flooring or drywall — often the fastest way to confirm an acoustic pinpoint on a hot line, and sometimes the first signal on a line too quiet to hear. Cold lines leave a weaker thermal trace, which is why the camera supports the listening gear rather than replacing it.
Moisture meters complete the picture. Readings taken across a wall or ceiling chart how far damp has travelled — and because damp spreads outward from its source, the strongest reading usually sits closest to the leak, even when the visible stain has wandered several feet along a joist. That gradient is exactly what traces a ceiling stain back to the fitting that caused it instead of the patch of drywall that reported it. The same map matters after the repair conversation too: it documents the extent of the damage for the homeowner's records and, where a claim follows, for the insurer's file.
Tracer Gas and Line Tracing: When Sound Is Not Enough
Some lines refuse to talk. A very slow leak may not make enough noise; a deep line under a driveway may muffle what noise it makes; plastic pipe carries sound poorly compared with metal. For those, the search changes medium. The isolated line is drained and filled with a tracer gas — a nitrogen and hydrogen mix — which escapes at the break and rises through soil or flooring, where a sensitive detector sniffs it out at the surface. The gas is found where the water was getting out, so the mark lands on the same spot an acoustic peak would have given, by a different road.
Line tracing is the quiet partner to both methods. Before anyone can listen over a buried pipe, they have to know where the pipe actually runs — and in a city of remodels and additions, the run on the original plan is often not the run in the ground. A trace puts a signal on the line and follows it from above ground, mapping the real path under the yard, the driveway or the slab. Listening, imaging and gas work all get sharper once the search area is the pipe's true route instead of the whole property.
What a Detection Visit Looks Like, Step by Step
Put the methods in order and you have the shape of every visit we run:
- Confirm. We start from your meter readings and photographs, re-check the low-flow indicator, and establish that water is genuinely escaping — and roughly how fast.
- Isolate. Branches are shut one at a time — irrigation, the water heater's inlet, individual bathroom groups — until the loss is cornered in one part of the system.
- Pressure-test. The suspect branch is sealed and gauged. A fading gauge confirms the leak lives there before any instrument comes out of the case.
- Pinpoint. Acoustic listening follows the run to its loudest point, with thermal imaging and moisture readings confirming — or, on a silent line, tracing and tracer gas.
- Mark and report. The spot is marked where the repair will open, the findings are written up with the readings behind them, and the repair options are priced in ranges — with the locating itself quoted as its own job, at the tiers published in our cost guide.
Which Method Finds Which Leak?
Under a slab, the sequence is tracing first, then acoustic listening through the concrete, with thermal imaging confirming the warm spread of a hot line — the combination that lets under-slab lines be pinpointed before any concrete is opened. Inside a wall or ceiling, moisture mapping and thermal imaging lead, because the water's spread is the loudest evidence there. On the underground run from the meter, tracing and acoustic work from the surface do the finding — the same tracing discipline behind our hidden leak service — so the first shovel lands over the break instead of starting a trench. Under a raised foundation, the crawl space itself is the instrument's shortcut: a specialist can often see and hear the line directly, with moisture and acoustic checks from below. The methods change with the hiding place. The order never does: prove it, narrow it, pinpoint it, mark it.
Why Homeowners Choose a Crew That Shows Its Method
A detection visit asks you to trust instruments you cannot see inside walls you cannot open. The least a crew can do is explain, in plain language, what each instrument is hearing or seeing — and show you the readings as they happen.
- The method is the quote. A real detection visit can describe its steps before it starts: isolate, test, listen, confirm, mark. If a company cannot explain how it will find your leak, its price is built on a guess.
- Pinpointed before anything opens. The spot gets marked from readings, and the repair — whoever does it — opens one small section at the mark. Exploratory demolition is the old way, and it bills you for every miss.
- Readings you can keep. Pressure figures, moisture maps and a marked location end up in a written report that is yours — the same document a repair quote, a second opinion or an insurance conversation can run on.
- Detection priced as its own job. Locating is quoted separately from repair, in published ranges, so the crew finding your leak has no financial reason to find a bigger problem than the one you have.
Leak Detection Method Questions, Answered
Can a leak be found without cutting into walls or floors?
Yes — that is the point of the method. Listening equipment follows the sound of escaping water, a thermal camera shows the warm trail a hot line leaves behind it, and moisture meters chart how far damp has travelled, so the spot gets marked from readings before a single opening is made. When the repair itself needs access, it is one small section at the marked spot, not a row of exploratory holes.
How long does a detection visit take?
Plan on one to three hours for most homes. The variables are the size of the house and how many branches have to be isolated and tested one at a time; a buried line or an awkward crawl space can stretch the visit further. You finish with the same deliverables either way — a marked location and the findings in writing, with repair options priced in ranges.
What does a detection visit cost?
It is priced by how hidden the leak is. A basic inspection typically runs $100–$300, electronic acoustic detection $300–$800, and slab or underground locating $500–$1,200. You hear the range that fits your home before any work starts, and the locating is always quoted as its own job, separate from whatever repair you decide on afterwards.
Know There Is a Leak but Not Where?
One visit works the whole method on your home — meter proof, branch isolation, an instrument pinpoint and a marked spot — and ends with the repair options priced in ranges, in writing.
Call (650) 632-9185 Request a Quote